Account Setup with Insightech
Welcome to Insightech! This series of articles covers all the essential information you need to know to start using Insightech.
Overview
The steps below cover what is necessary for you to complete your Account Setup so you can use Insightech. This requires you to:
- Implement your Tracking Code
- Enable Domain Tracking / Cross-Domain Tracking
- Enable dataLayer Tracking For Your Website (Optional)
- Masking PII (Personally Identifiable Information) Content
- Invite Your Team to Your Account
- Create Your First Funnel

Implement your Tracking Code
Implementing your Insightech tracking code onto your website will set up data to be captured into the Insightech platform. Once this has been done, data will begin streaming into your account within seconds, as long as you have users on your website.
Follow these steps to implement your tracking code:
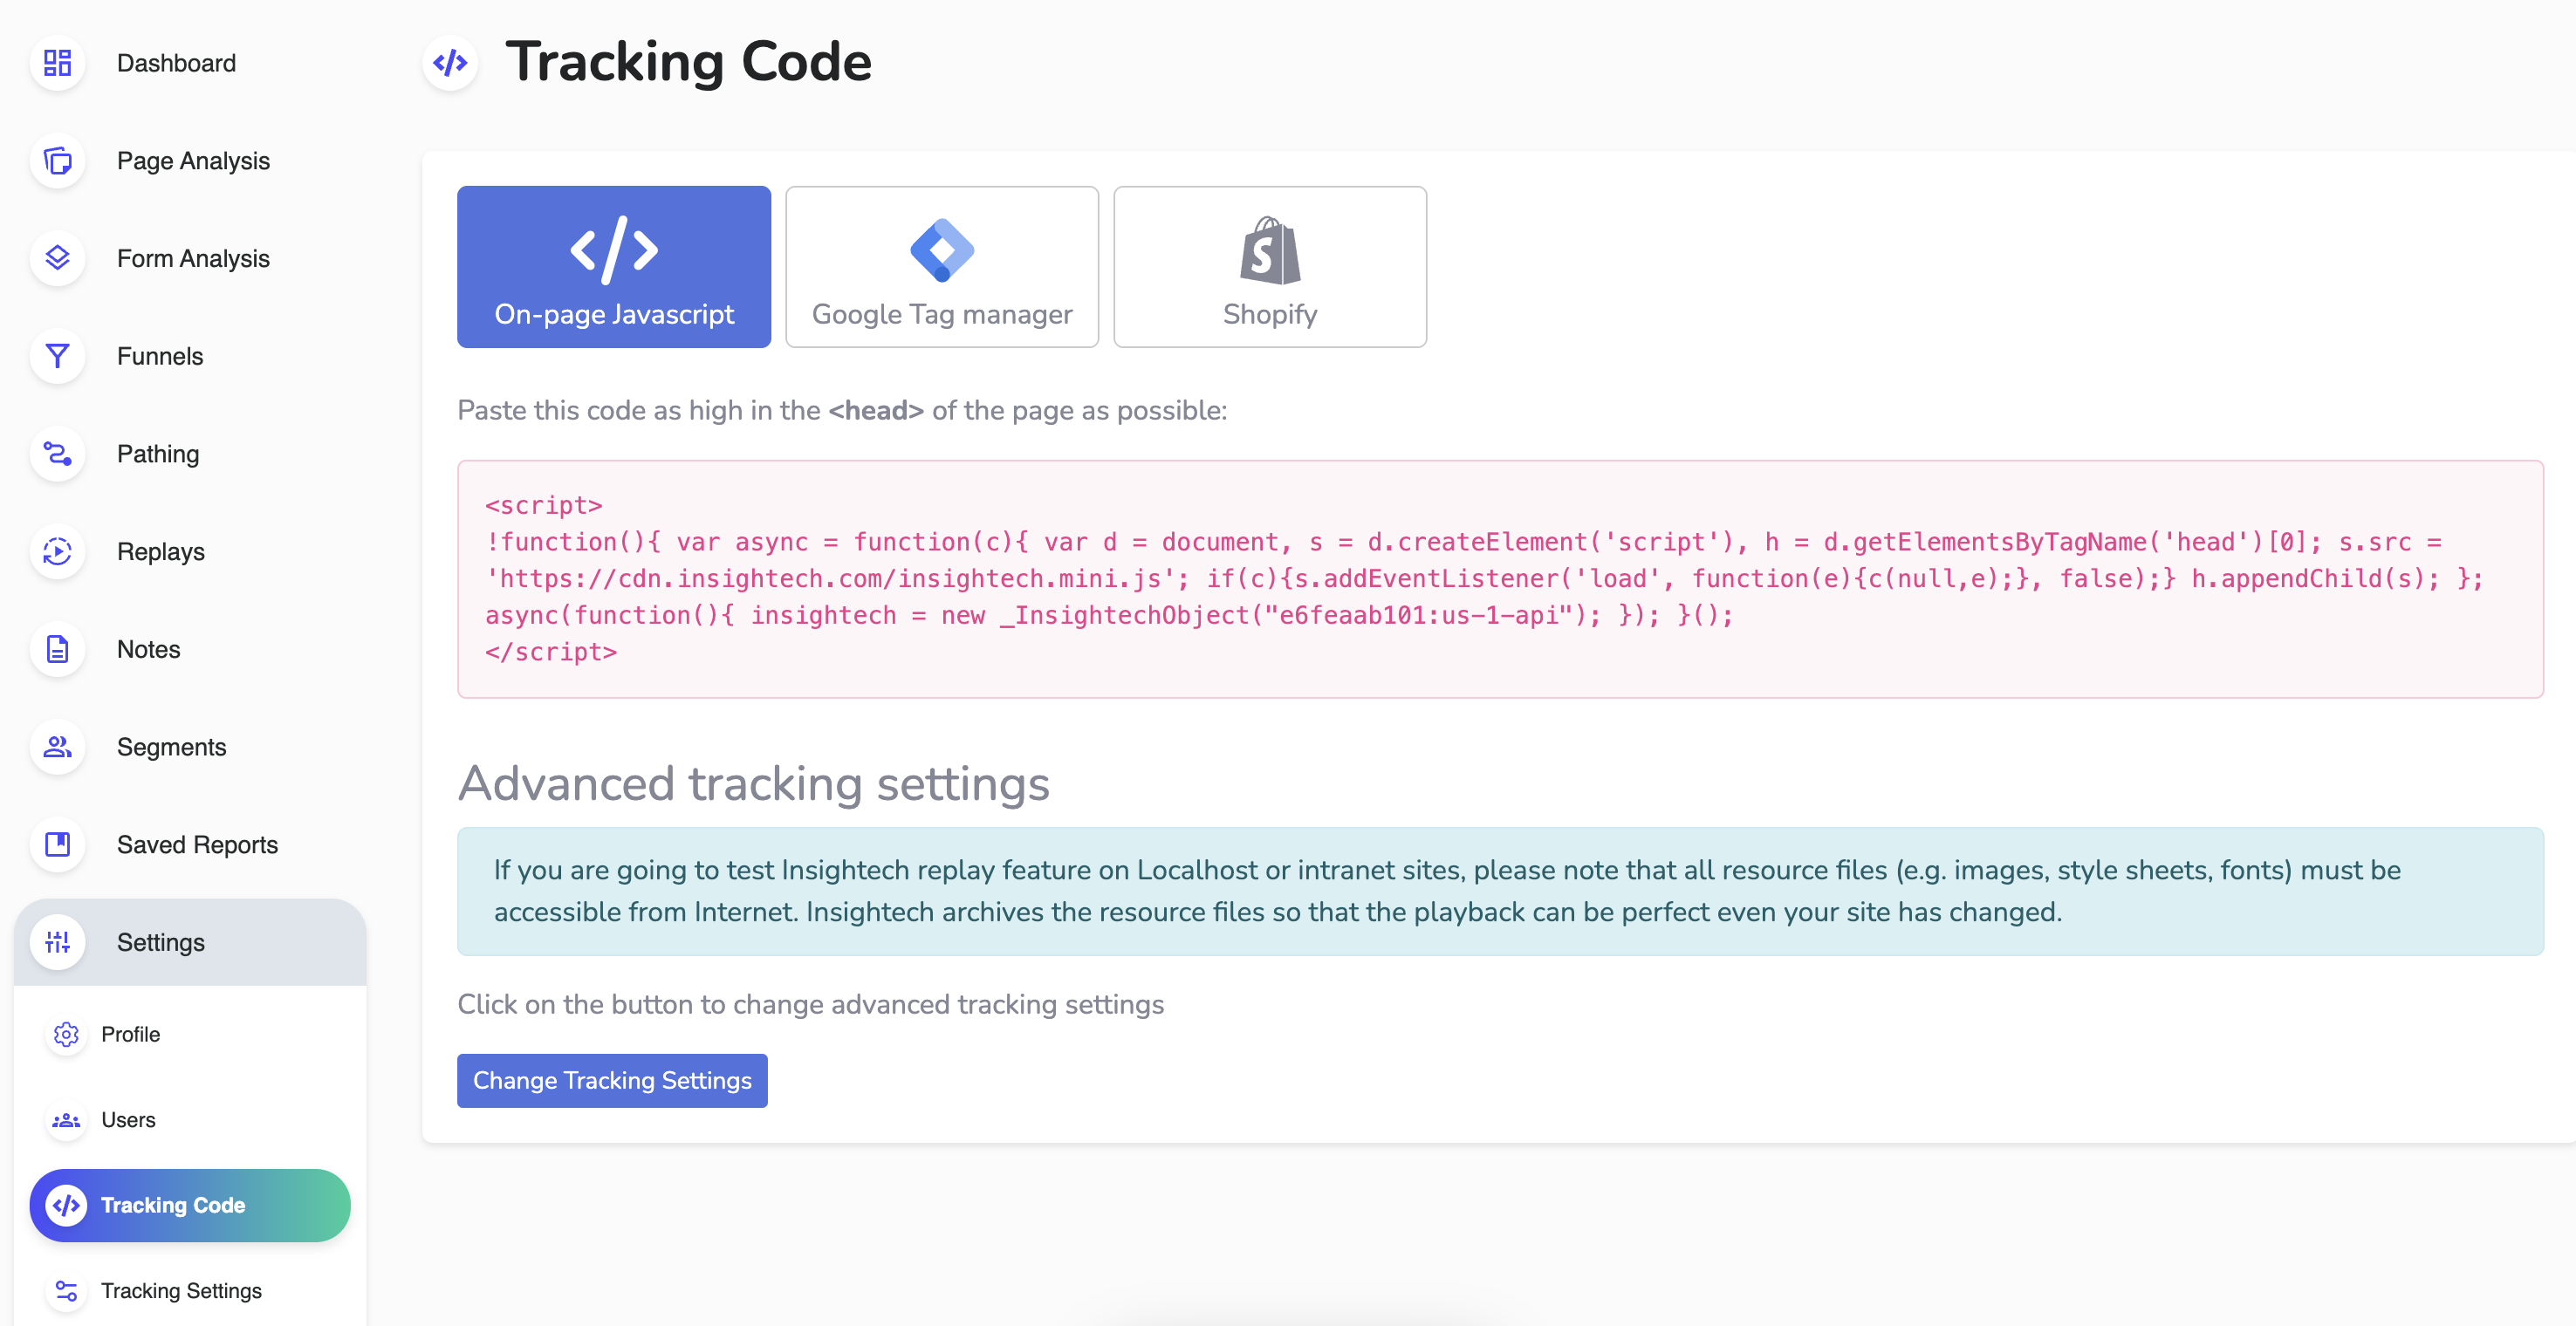
- Navigate to Settings → Tracking Code from the Insightech main menu
- Choose your Code Implementation Method in one of three ways. You can implement your code through either:
- Google Tag Manager (Recommended Approach) - Implement via your website tag manager. This is the fastest and easiest approach to manage.
- On-Page Javascript - Implement directly into your website HTML code, as high as possible within the <head> tag. This is more difficult to maintain, and the use of a Tag Manager is highly recommended.
- Shopify
- Click on the approach you want to use and follow the instructions
- Copy and Paste from your Insightech profile, directly into either your tag manager (E.g., Google Tag Manager) or directly into the <head> tag of your website, and publish.
You will begin to see data as soon as the Insightech tracking code is published, and once users navigate to your website.
Please Note - Do not have more than one Insightech tag across your website or you may experience tracking issues
Click here to learn more about a more detailed breakdown of how to implement your tracking code

Enable Domain Tracking / Cross-Domain Tracking
Insightech will allow data to be captured from the domains that you have listed in your profile settings. Cross-Domain tracking will also be applied to each of the domains listed in your admin settings, which recognises when users are in the same session across these domains.
It is recommended that you include all domains that you want to be tracked and any 3rd party portals that users may navigate to as part of your website experience. To set up your domains:
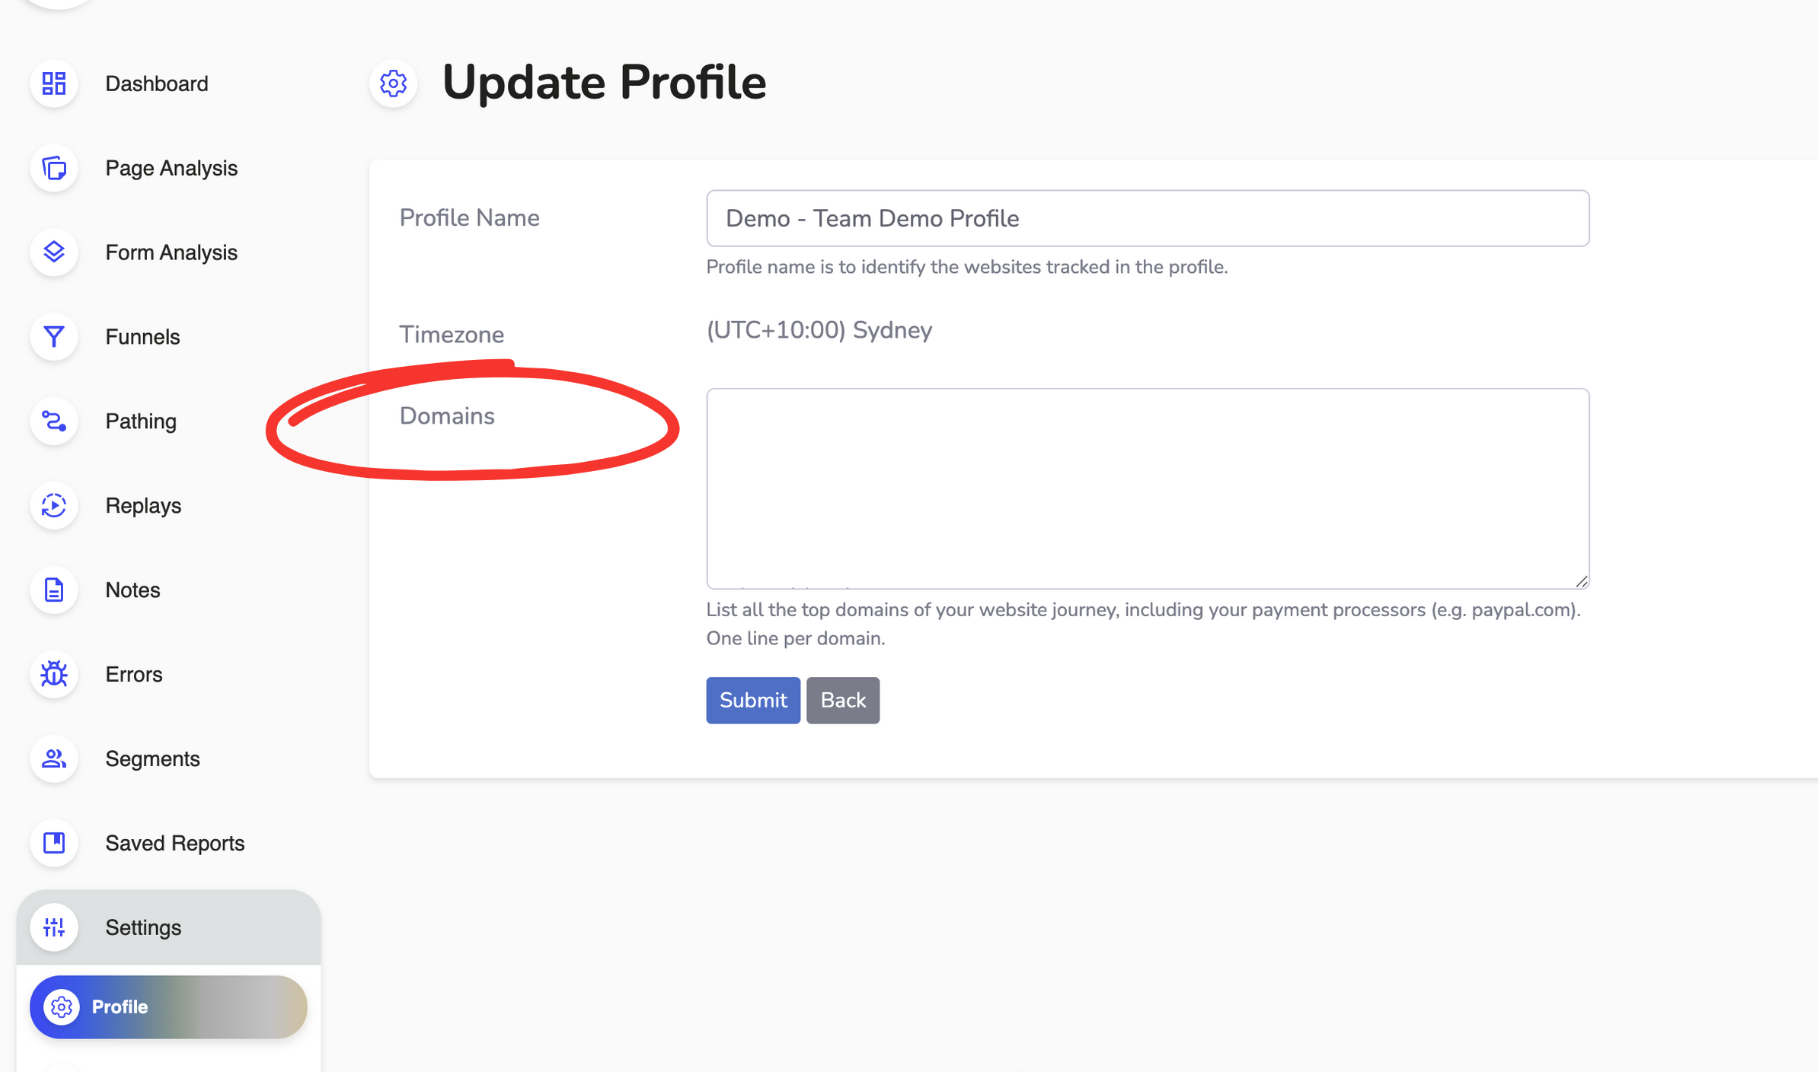
- Navigate to Settings → Profile from the Insightech main menu
- Input each of your domains on a separate line. Any domain that partially matches your domain list will be tracked.
- Please Note - Removing the sub-domain prefix (e.g., 'www.') will mean that all subdomains with the tracking code implemented will be tracked.
- Click Submit to save your settings
Insightech will apply these rules retroactively, meaning any changes will be applied to any historical data captured.
Enable dataLayer Tracking For Your Website (Optional)
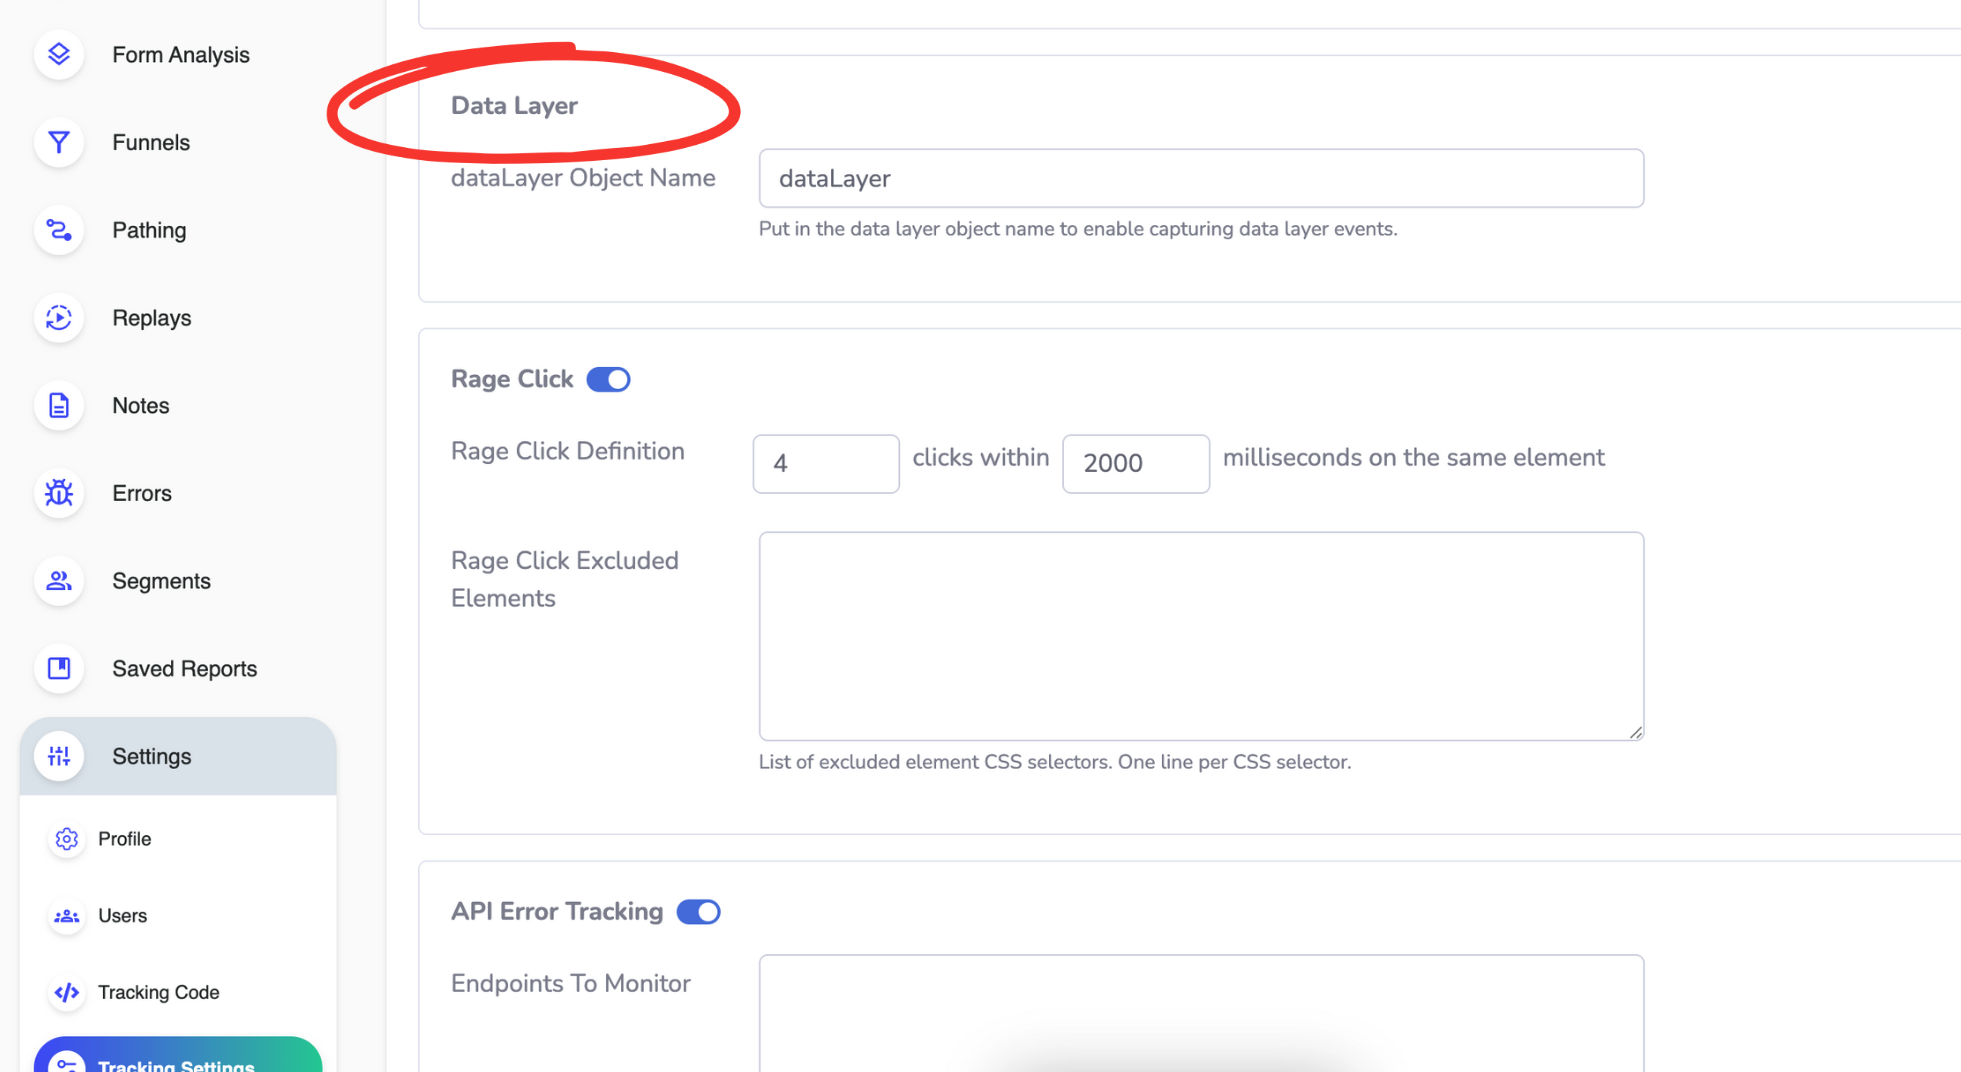
Insightech will automatically track your website dataLayer using the object name 'dataLayer'. If you have a custom dataLayer name, you will need to point Insightech to your customer dataLayer.
Setup Instructions
- Select Settings → Tracking Code from the Insightech main menu
- Click Change Tracking Settings
- Update the input for 'dataLayer Object Name' to match your dataLayer name. (E.g, "yourDataLayerName")
- Click Save to apply your settings
Please Note - Tracking code settings only apply once settings are saved. Rules applied here will determine what data is captured and therefore will not apply retroactively to any data is or isn't captured.
Click here to learn more about how to setup dataLayer tracking and how it works for your website

Masking PII (Personally Identifiable Information) Content
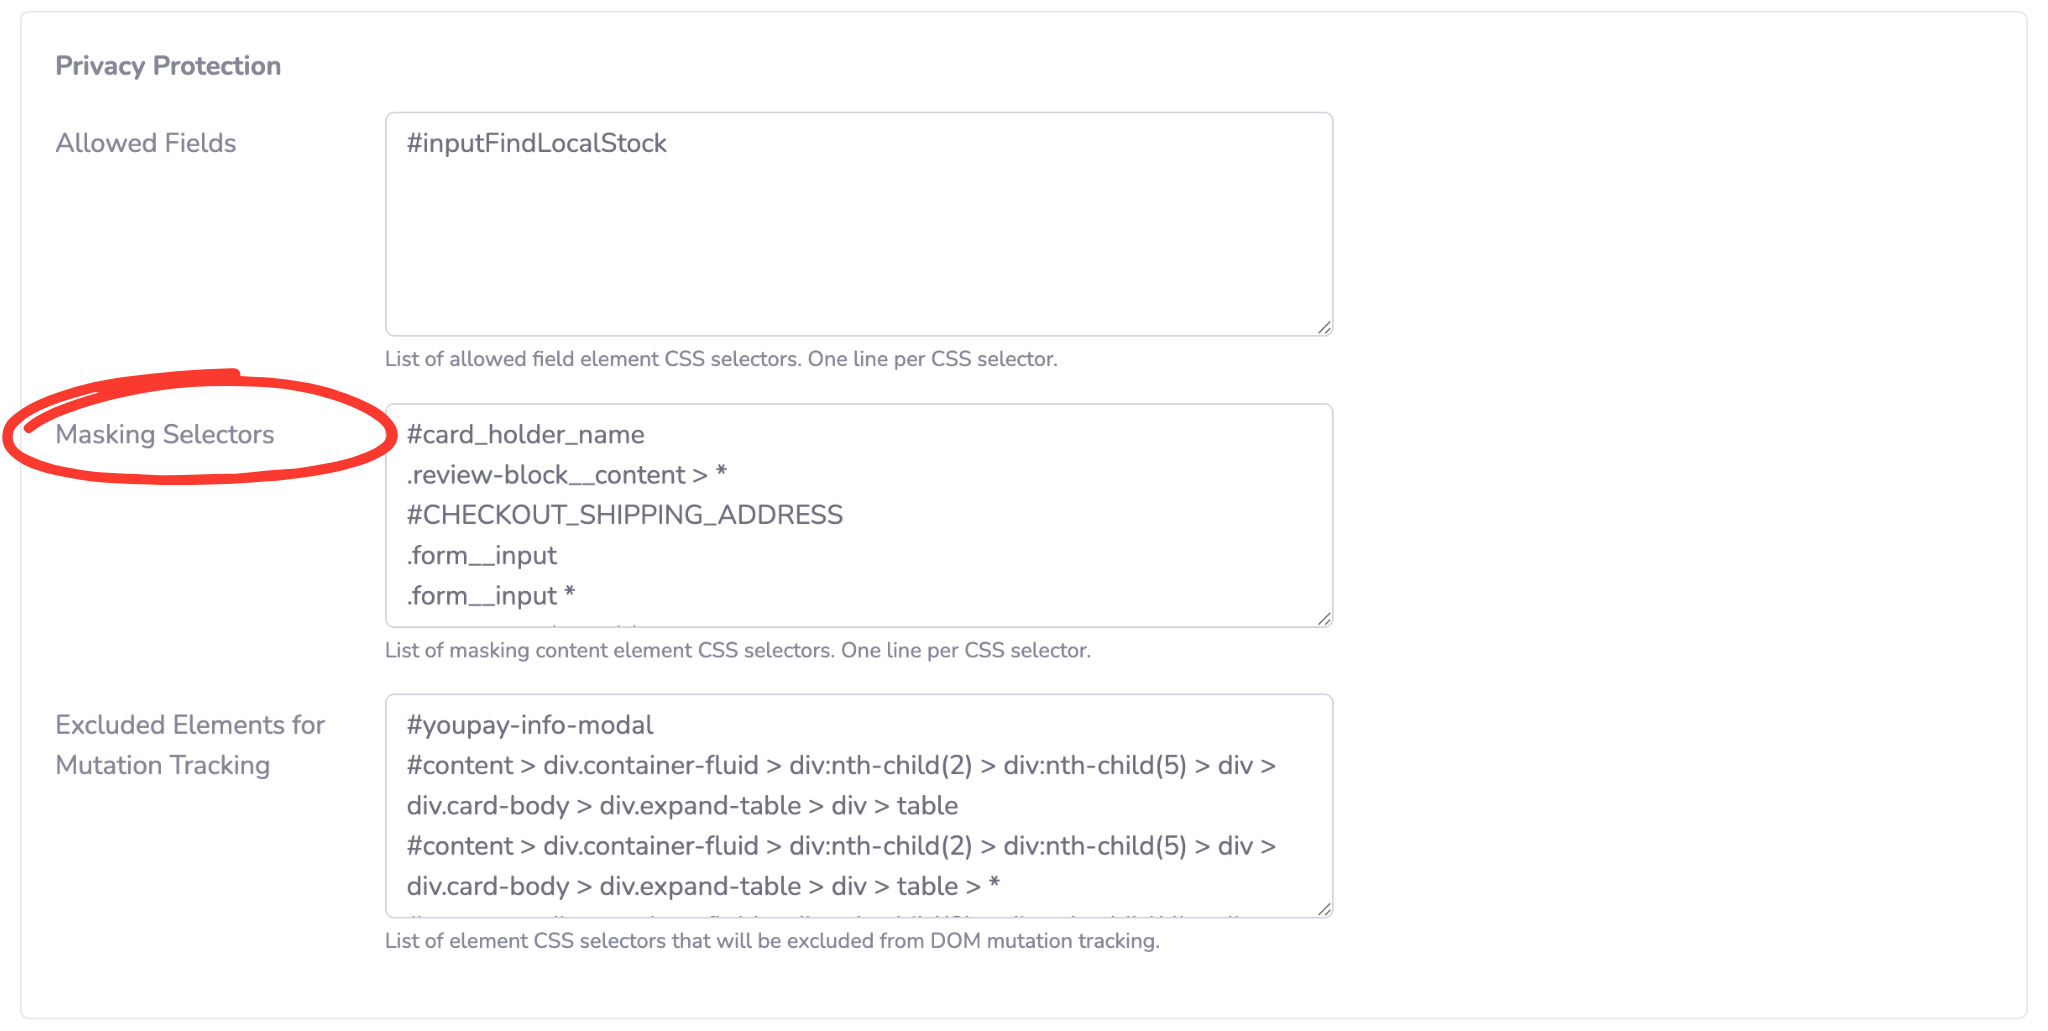
Insightech automatically masks email addresses, for fields, and any other fields where users type information into your website. However, when personal information (PII) appears on your website in plain text. (E.g., confirmation page details), you will need to set up custom masking rules.
Here is how to set this up:
- Click Settings → Tracking Code → Change Tracking Settings from the Insightech Main Menu
- Input your custom masking rules for each element you want to mask. This can be any CSS attribute, class, ID, element or selector
- Check that each line contains a single CSS rule.
- Click Save Settings to apply your masking rules to your tracking code
Click here to learn more about how to mask and whitelist PII on your website

Invite Your Team to Your Account
Now that your account is set up, you can add your teammates to Insightech. To do so,
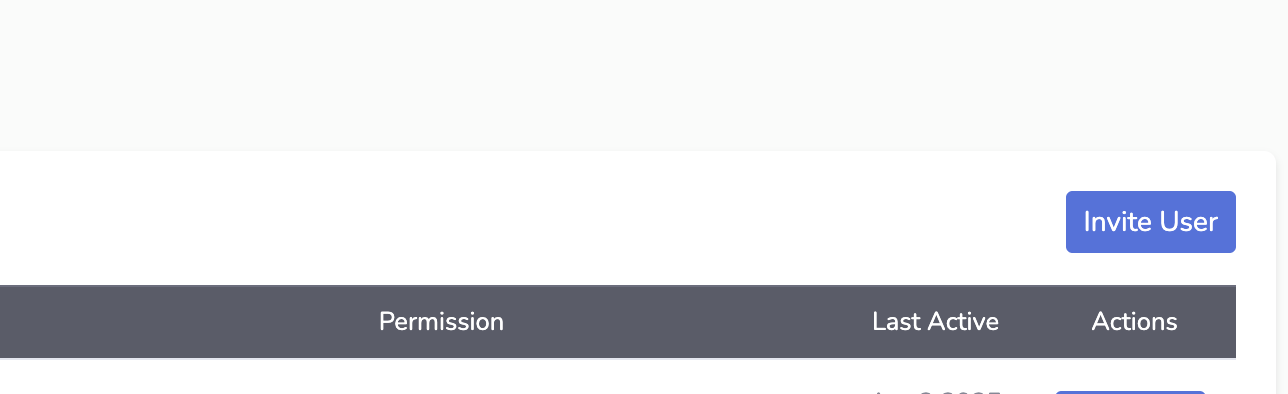
- Navigate to Settings → Users from the Insightech main menu, to see a list of your current users
- Click Invite User and input the user's email and name to be added
- Select the correct user access level:
- Viewer: View access to all reports, with no access to admin settings
- Admin: View and Edit access to reports, and full access to admin settings
- Click Invite New User to send an invite to them. Each user will need to register an account and accept your invite to get access to your profile.
Click here to learn more about how to manage different users and their roles on your team
Set up your Conversion Point
Set up your conversion point to identify when the users of your website ‘converts’ to being a customer of your product. This could be when a user loads a particular URL, loads a specific dataLayer event or even sees a piece of content as a website confirmation.
- Navigate to Settings → Conversion
- Input the rules of your conversion point based on specific event of user behaviour
- Note - Only a single conversion point can be defined.
- Click Save Conversion Settings
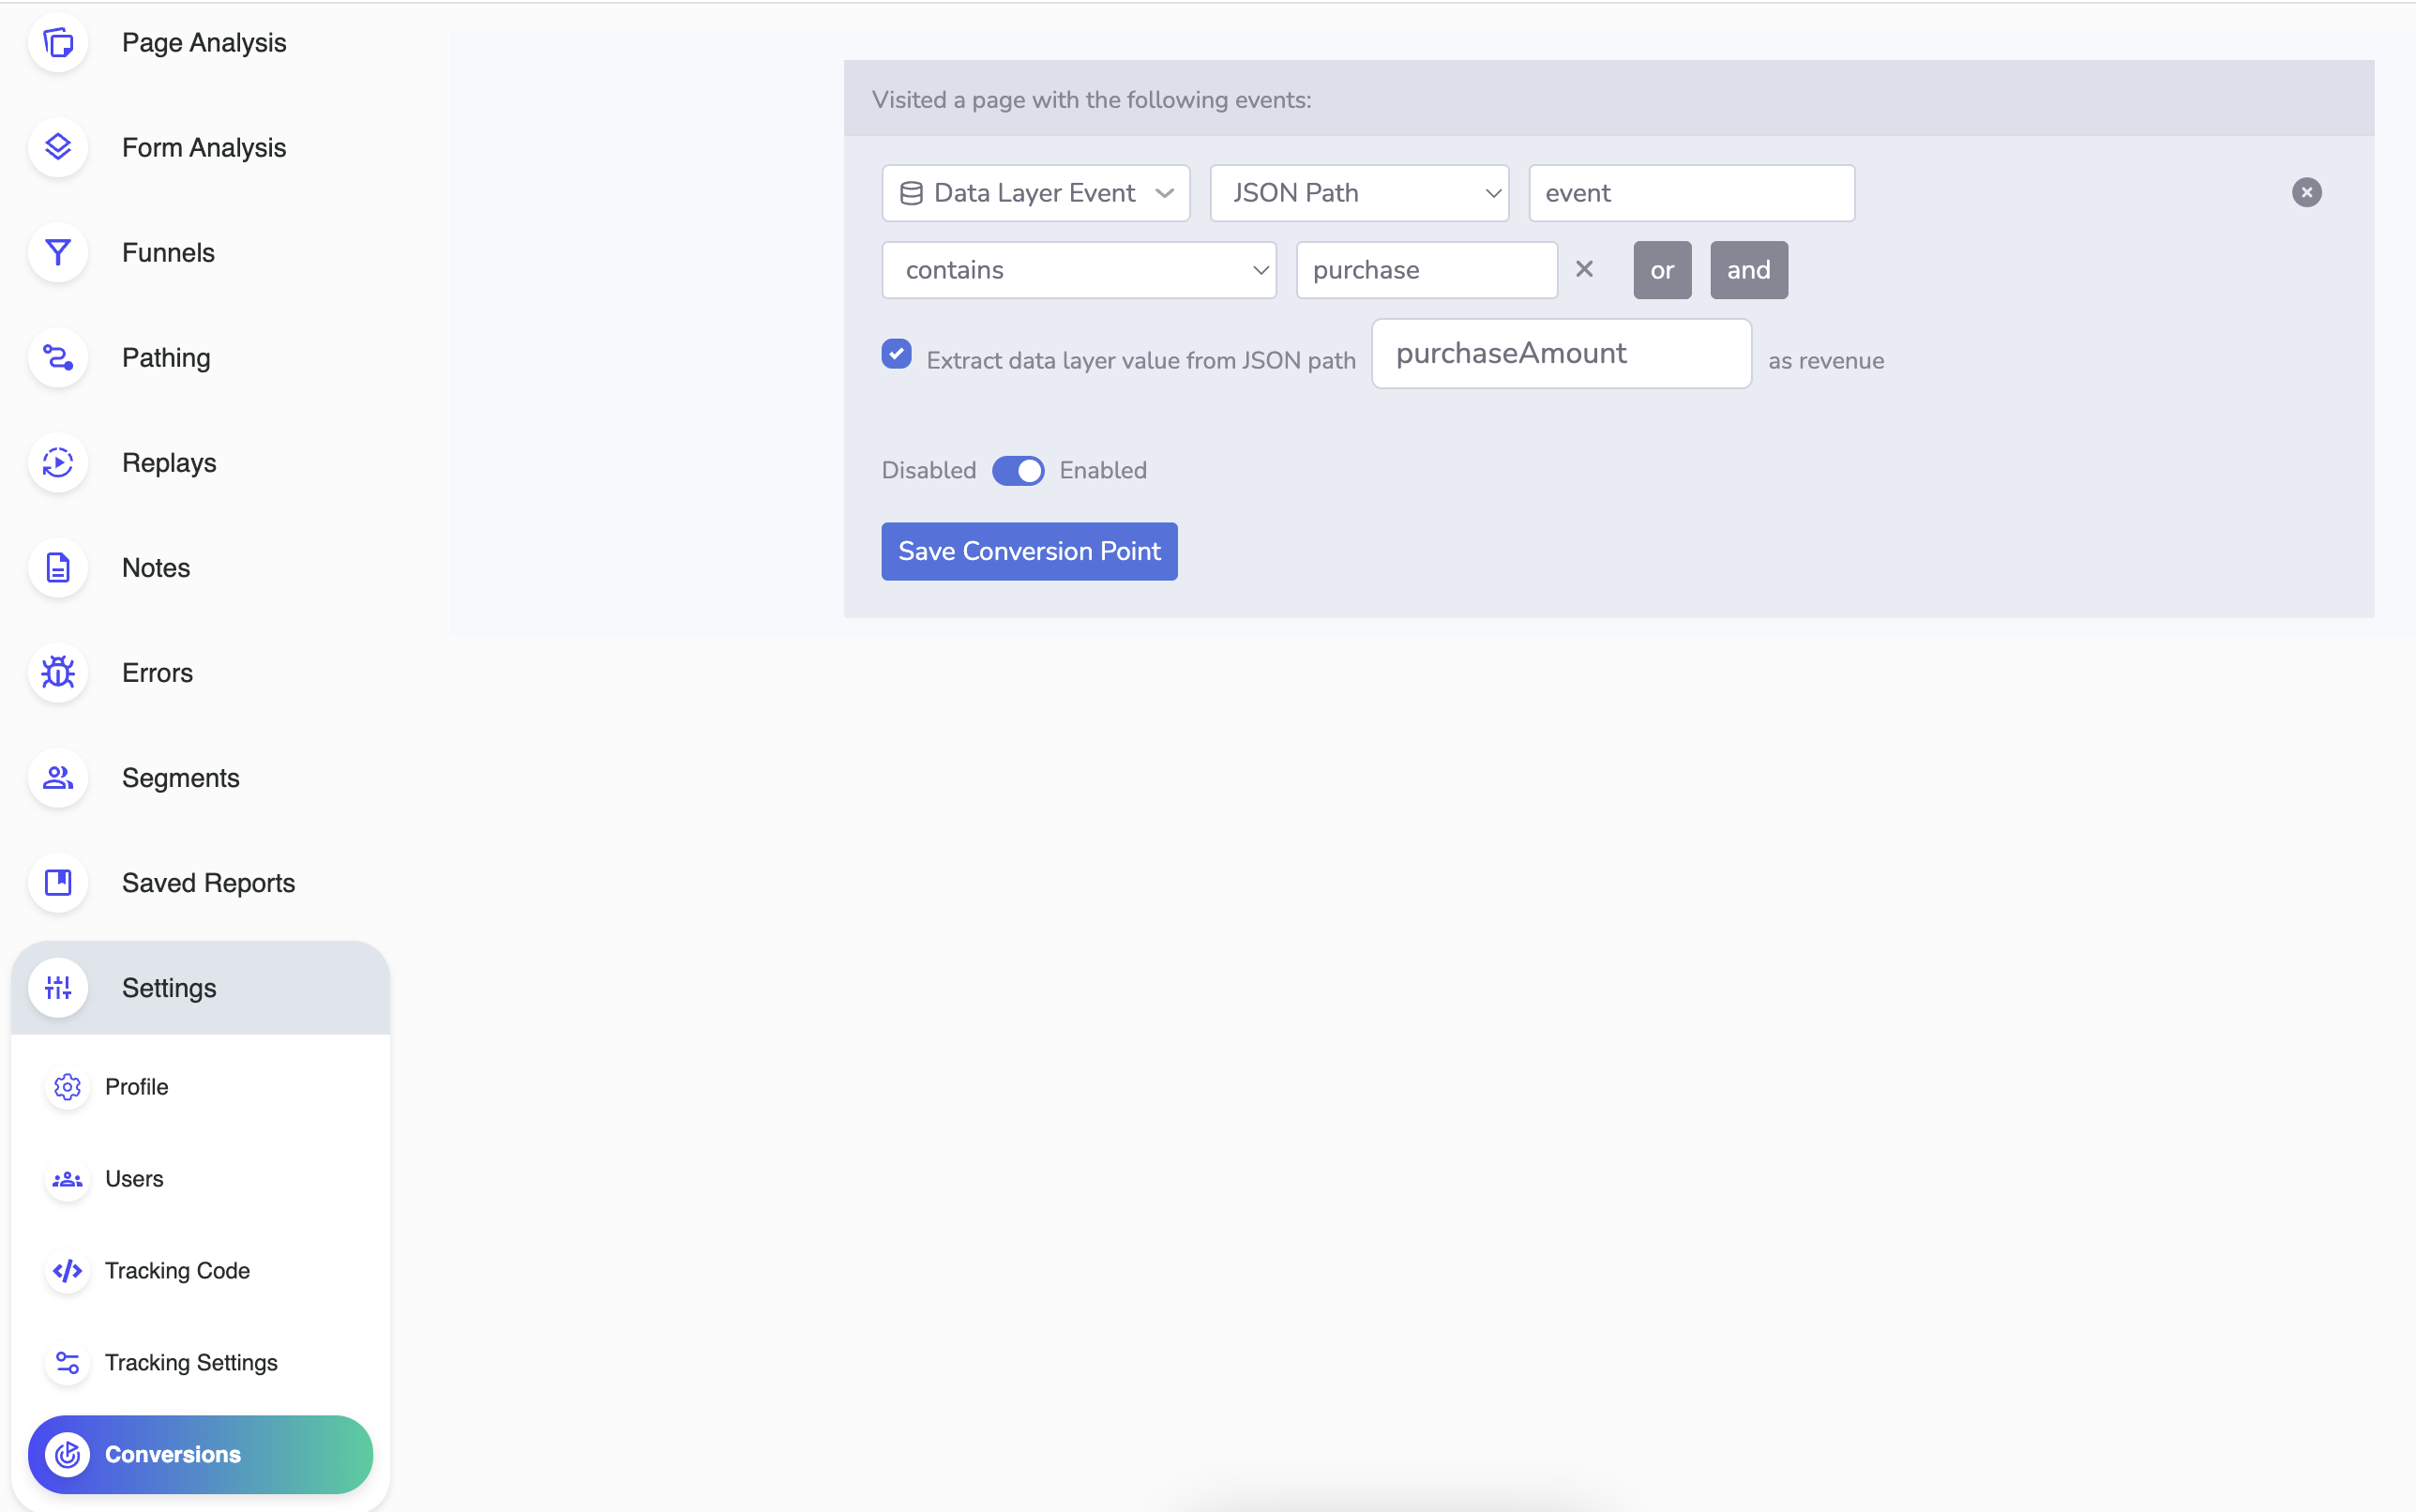
Once this is set up, conversion rate and revenue data will be shown across your click map, dashboard and all other reports.
Click here to learn more about setting up conversions and revenue tracking with Insightech
Create Your First Funnel
A funnel is a visual representation of the journey you expect users to take so they can convert into customers on your website. With funnels, you can view where customers are stuck so you can improve their web experience to drive more revenue.
A conversion funnel can be made with historical data and be set up using any event or user behaviour on the website. From there, you can identify exactly where users drop off, and use our session replay tool to visualise user experiences for those that drop off.
To create your funnel,
- Navigate to Funnels → Add New Funnel from the Insightech Main Menu
- Name the conversion funnel
- Input the step name and rules for each step that you want to be included in your website funnel.
- Assign your Funnel type to 'Open' or 'Closed'
- Closed (Recommended): This funnel is best used to measure organic flows into your website, and how likely someone is to reach or abandon each next step through your website. Each user must meet each rule along the way within their session to be included in each step.
- Open: Use this funnel when you want to see the total traffic at each step, including sessions that begin halfway into the funnel (e.g. Abandoned cart emails).
- Click Submit and your funnel will be saved for other team members to use.
Please Note - This capability is only available to your Admins. Please reach out to your admin users to get this done
Click here to learn more about how to create your first conversion funnels on your website
Now that you know how to set up your account, let’s run through how the Insightech platform works. Click here to learn more about Insightech