Set Up Conversion and Revenue Tracking for Reports
This article looks at how to setup your conversion and revenue metrics, which are used in dashboards and clickmaps.
Conversion metrics in the dashboards will help you see how conversions and revenue are trending for your website, while the clickmaps will help you identify the on-page features that are not just driving clicks, but conversions and revenue.
Step 1 - Conversion Point Configuration
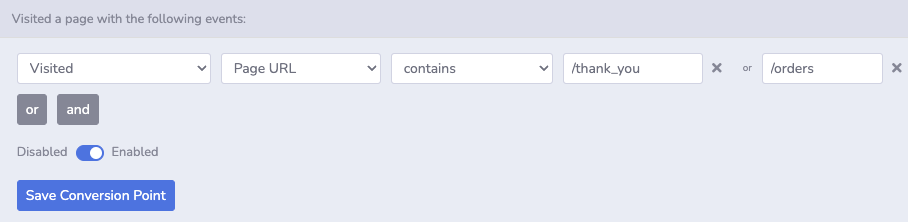
Navigate to Settings → Conversion. This is where you need to input the rules for your conversion point based on any of the events or behaviours recorded in Insightech.
Note - Only a single conversion point can be defined.
Here are some common examples you might want to use:
When a user visits a confirmation page URL
Keep in mind that if people reload your confirmation page multiple times, this will be considered multiple conversions. To avoid this, use Data Layer event rules where possible.

When a user clicks a button to submit a form
Simply replace the <Button CSS> with the actual CSS selector of the element that you want to use in your rule.

When a confirmation message shows on a page
Keep in mind that if people reload the page, and this message shows multiple times to this user, it will be considered multiple conversion events. To avoid this, use Data Layer event rules where possible.

When your website sends a Data Layer event (Recommended / Advanced)
If you have a data layer already set up, you just need to put in the attribute path (e.g. event), and the value that should be contained.

If you would like some more information on data layer events or want help setting them up, please get in touch with our support team. We are here to help!
Setting up Revenue Tracking (Optional)
To set up revenue tracking, you will need to first set up your conversion point in Step 1.
You will either need to be using Content Element Loaded or DataLayer Event where a revenue value is shown to be able to set a revenue amount for each conversion.
Note - Your revenue needs to be a numerical value.
- Click the checkbox below your conversion metric and set as 'check to extract your revenue amount'.
- This check box will either say Extract element text OR Extract data layer value depending on whether the Content Element or DataLayer is used
- Input the Datalayer path of your revenue value if your conversion metric uses the dataLayer

OR
- Input the revenue value using the CSS selector or text if your conversion metric uses the content element loaded

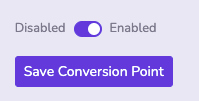
Step 3 - Enable the Conversion Feature
Click Save Conversion Point, and your conversion feature will be enabled. This will work retroactively on all of your reports, so all dashboard and clickmap reports will include conversion metrics now.